You have a couple of choices to charge your batteries in the van. One already comes preinstalled with your van: the alternator. A second choice is a battery charger but that one needs an AC source to plug it in. This post is about the third option: Solar Panels to charge your house batteries.

Solar Panels
The first step in a solar installation is to figure out what you actually need: This depends on your power consumption and your battery setup which will answer how long can you power your electrical devices without recharging and what solar setup you need to charge your batteries within a day. AM Solar has a pretty good description on how to figure out the right dimensions for your setup.
Once you know the required wattage of the solar panels you can search for the right size of solar panels that fit onto your roof (and that again depends on what you already have up there). In my case I’ve ended up with three 100W solar panels from Renogy Solar [@eBay] that have the perfect length (47 inches) to cover the pretty much the full width of the roof.
Mounting the solar panels on the roof
The next step is to mount the panels on the roof of your van. I would recommend to keep some space between the panel and the roof so that you’ll have some airflow between the two which will help keeping the panel cooler. It will also have the nice side effect to create some additional insulation for your van and the inside of your camper will be cooler as well.

I mounted the solar panels with brackets on roof rails simply to avoid having to drill too many holes in the roof. Each side of the rails is held in place by just three bolts only (see here for details of the roof rails installation). The brackets itself I manufactured out of an aluminium angle that I’ve cut into 3 inch long pieces. I’ve seen other installations where people glue mounting brackets to the roof with VHB tape. This approach works well with a newer van (or a fresh paint job) but in my case where the paint is starting to peel on the roof (due to Texas heat) I wouldn’t trust that.
Cable routing
The panels already come with a few feet of wiring and MC4 connectors. What you need to decide for yourself is how you connect your panels: either in parallel or in series. There’s a ton of posts about the pros and cons for each – just google it. I’ve decided to connect them in series simply because my charge controller can handle higher voltages. The downside of connection in series is that if you have a broken wire anywhere it will disconnect the whole circuit. If you want to connect the solar panels in parallel you’ll need so called MC4 T branch connectors [@eBay].
Once you connected all the panels, you can simply put the cables under the panels and, if required, secure them into place with some zip ties.
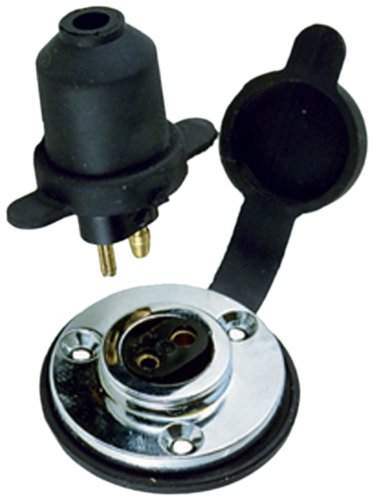
The last step is to route the negative and positive wire into the van. I’ve tried first to glue a connection box onto the van with a hole drilled into the roof for the wires but that failed due to the peeling paint. On camperize.com I’ve found a nice marine style connection [@Amazon] that even allows you to disconnect the panels and still have a watertight roof.

It’s cheap enough ($18) and so far it holds up pretty good. After installation we drove the van over 5000 miles all across the US and it never came lose and the connection was 100% waterproof. The only downside is that it reduces the gauge size of the cable. I’ve used 10AWG wire and had to thin out the strands a bit to fit them into the connector.
Update: after not even a year I’ve found a better and simpler solution and used a simple junction box.
Another option to route the wires through the roof would be cable glands [@eBay] but you would lose the upside of being able to temporarily disconnect your panels.
Charging your batteries
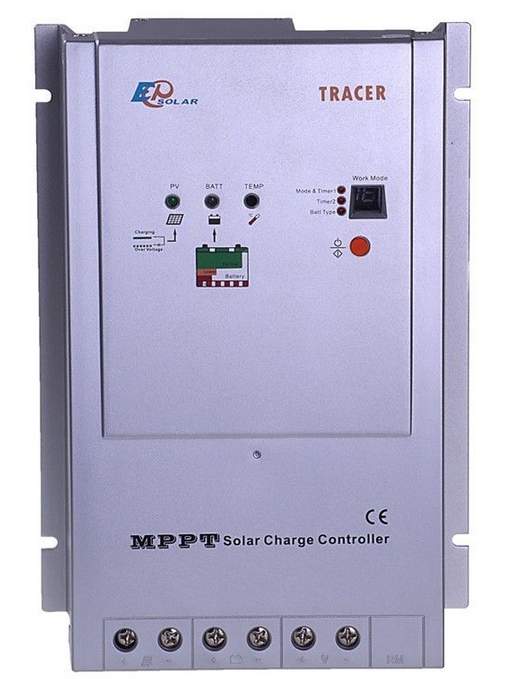
To charge your batteries with the electricity “harvested” through your solar panels you’ll need a charge controller [@eBay]. There are basically two types of controllers: PWM (pulse width modulation) or MPPT (maximum power point tracking) controllers. PWM controllers are much cheaper but have some disadvantages. The tipping point for me was that with PWM the voltage output of the panels need to match the voltage of the batteries while MPPT controllers are able to use the additional power to boost the charge. On the other hand MPPT controllers perform better in colder environments which is not really the case in Texas 8 months of the year.

My final choice was the Renogy 40A Tracer which leaves enough room for adding more solar panels (up to 400W/12V or 800W/24V). Also the price was cheap enough to justify MPPT over PWM.
The charger is your main connection point: you need to route your wires from the solar panels here but also the charging cables to the house batteries and the wires for your electrical distribution system inside the camper.
Monitoring your solar system
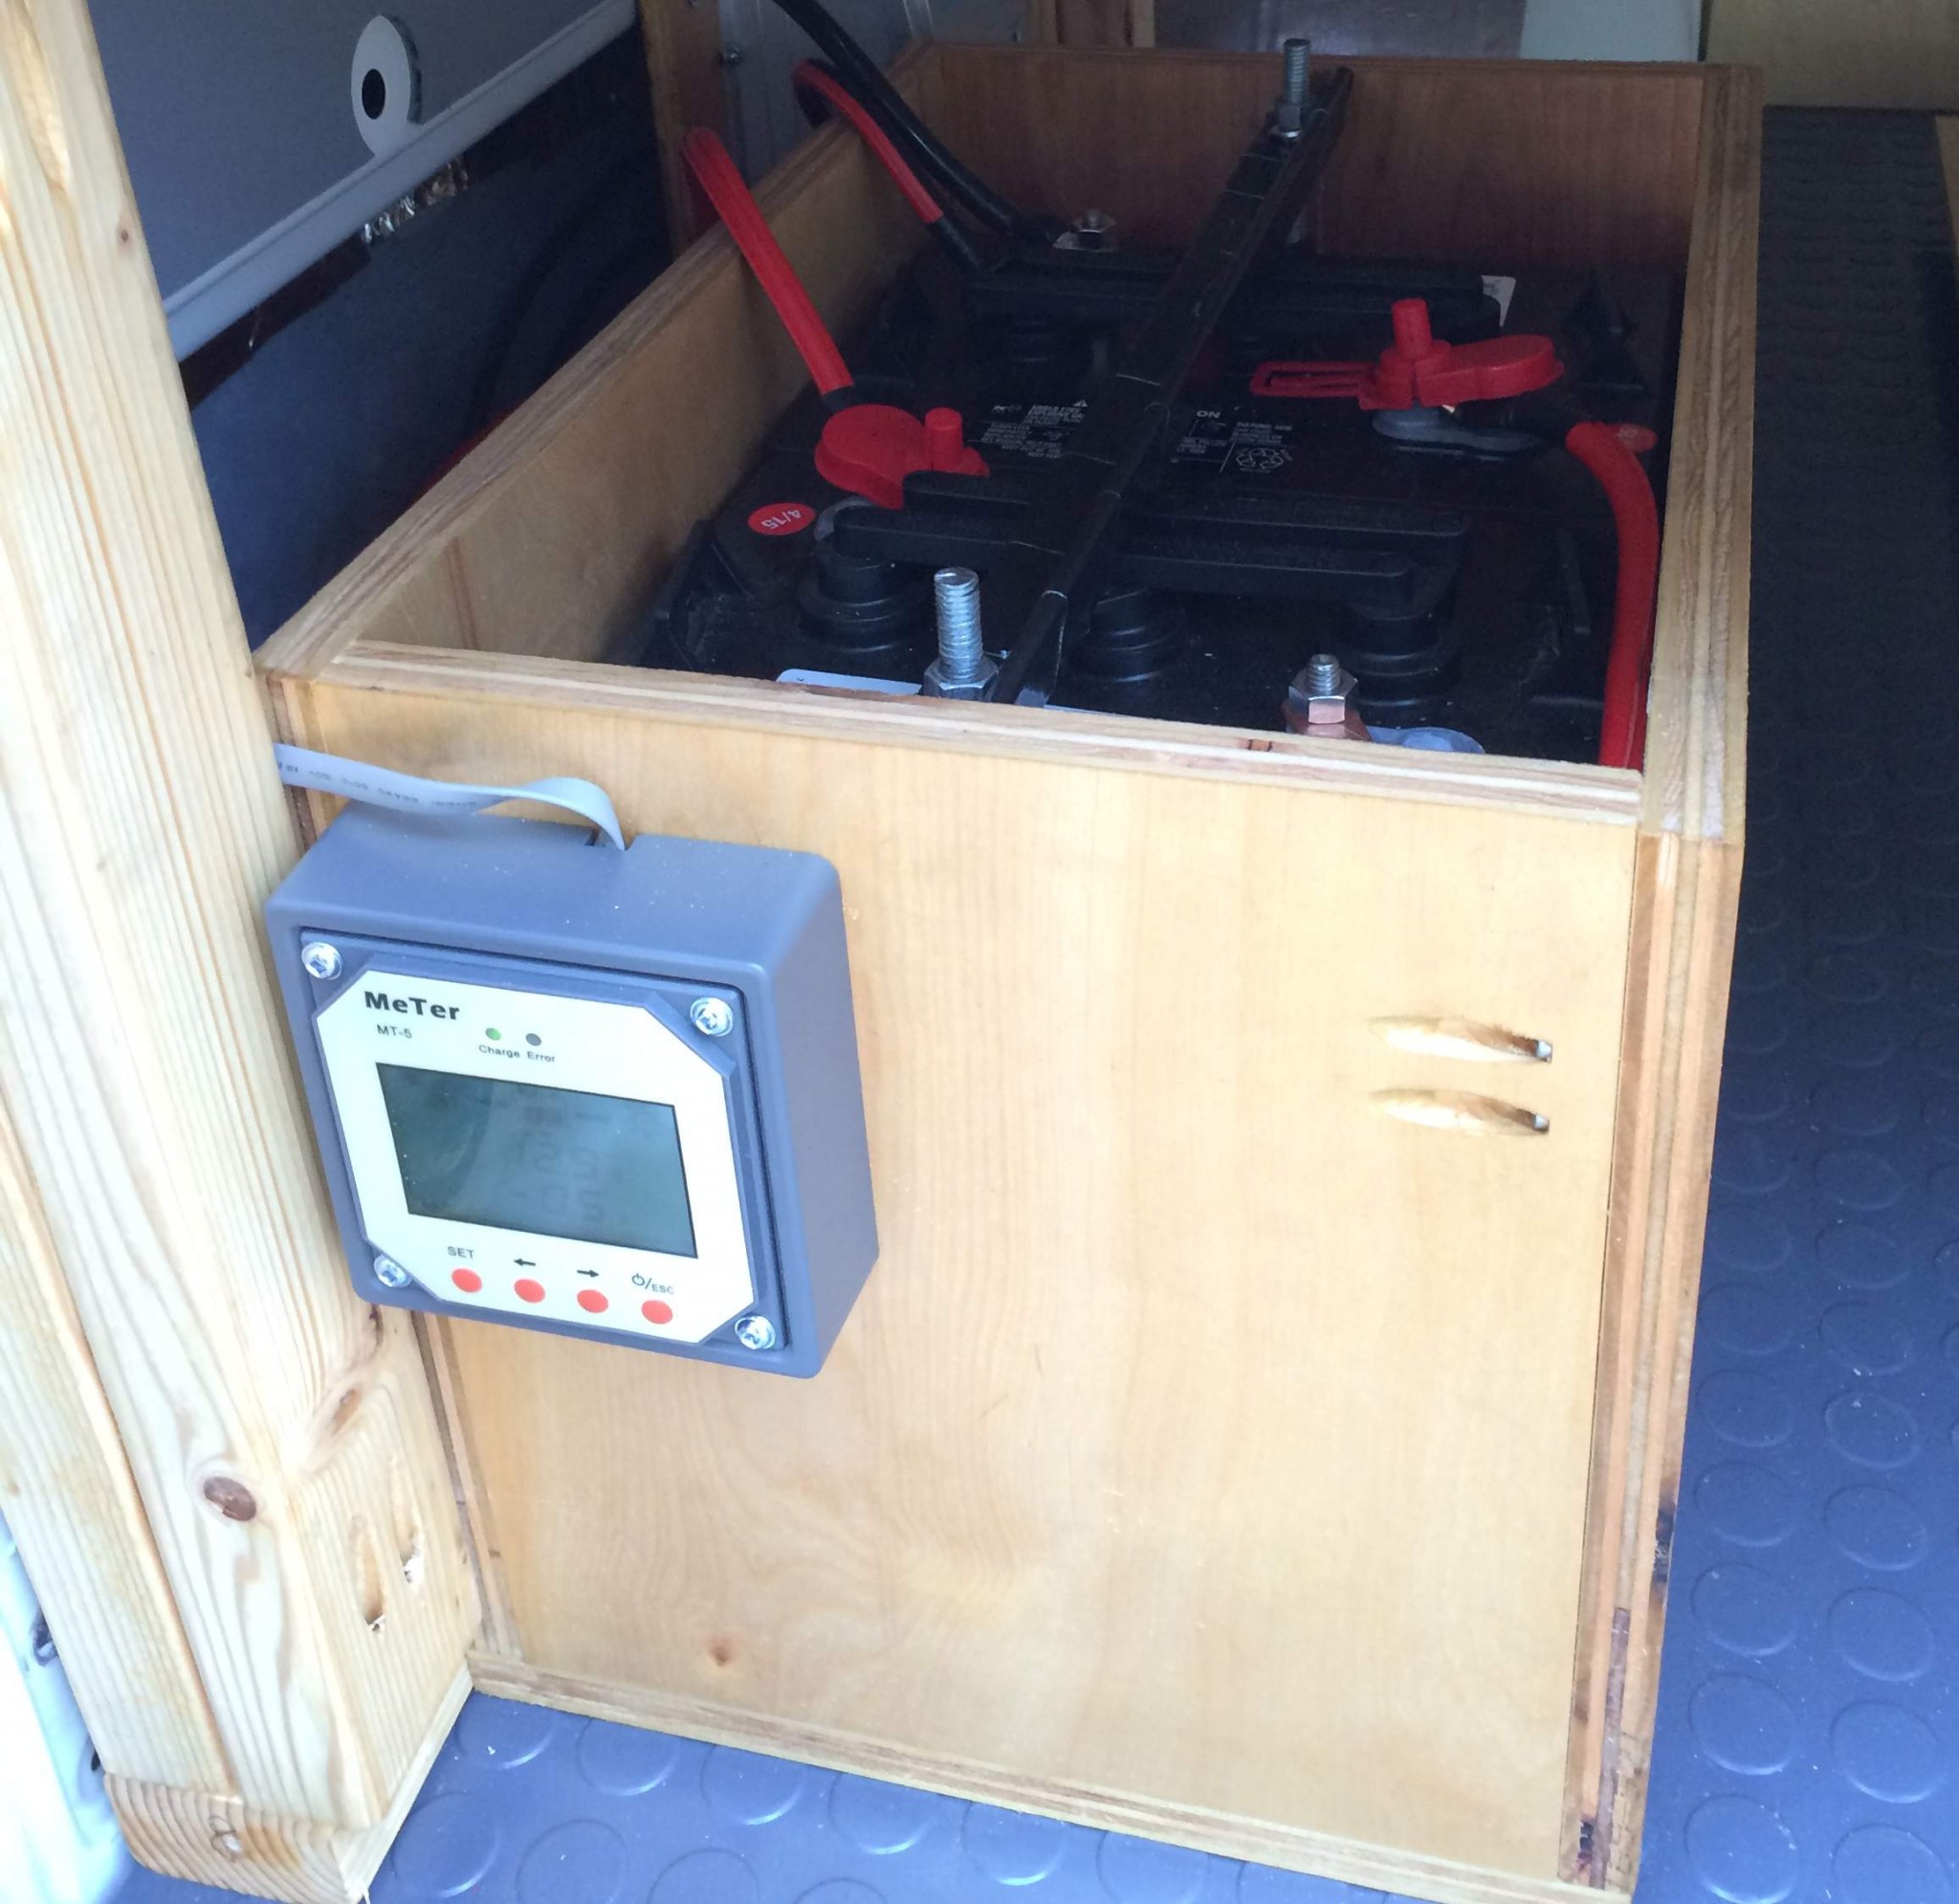
To keep track of the state of your solar system, like voltage generated by your panels or state of battery charge, you can add a monitor to your system. The monitor itself can be mounted anywhere inside the van. My choice was the Renogy MT-1 meter that plugs directly into the charge controller.

You could also route the wires for the monitor to the cab so that you see the status of the solar system while driving but for me its good enough to check if everything is ok each time I open the rear doors – which happens often enough.
Tools needed:
- Drill & Drill bits
- Screwdriver & wrenches
Parts needed:
Affiliate disclosure: This site contains affiliate links to products. We may receive a commission for purchases made through these links.
Summary
-
Technical Difficulty - 3/103/10
-
Time needed - 5/105/10
can you run your a/c only off your solar panels and batteries
Hey Bob, in theory, yes – you could run your A/C from batteries. These guys did it: http://www.gonewiththewynns.com/off-grid-solar-rv-air-conditioning. But my solar and battery setup is way to small to run my A/C unit.
How are the 3” brackets attached to the rack. I see the screw head, and washer but how does it attach to the rack?
there’s a nut and washer on the other side of the bolt.
Hi! Thanks for this post, this will make installing my panels much easier! I have a couple of questions for you.
1. How much space do you need between panels? Can put them directly side-by-side?
2. From what I saw, the panels mounting holes are on the bottom of the panels. Did you make your own mounting holes for the side? Was it hard to do?
Cheers!
Great post. What kind of battery did you use for the system?
I really like this install as it is clean and simple. Would this preclude you from adding an awning in the future or are you planning on doing that?
Thanks