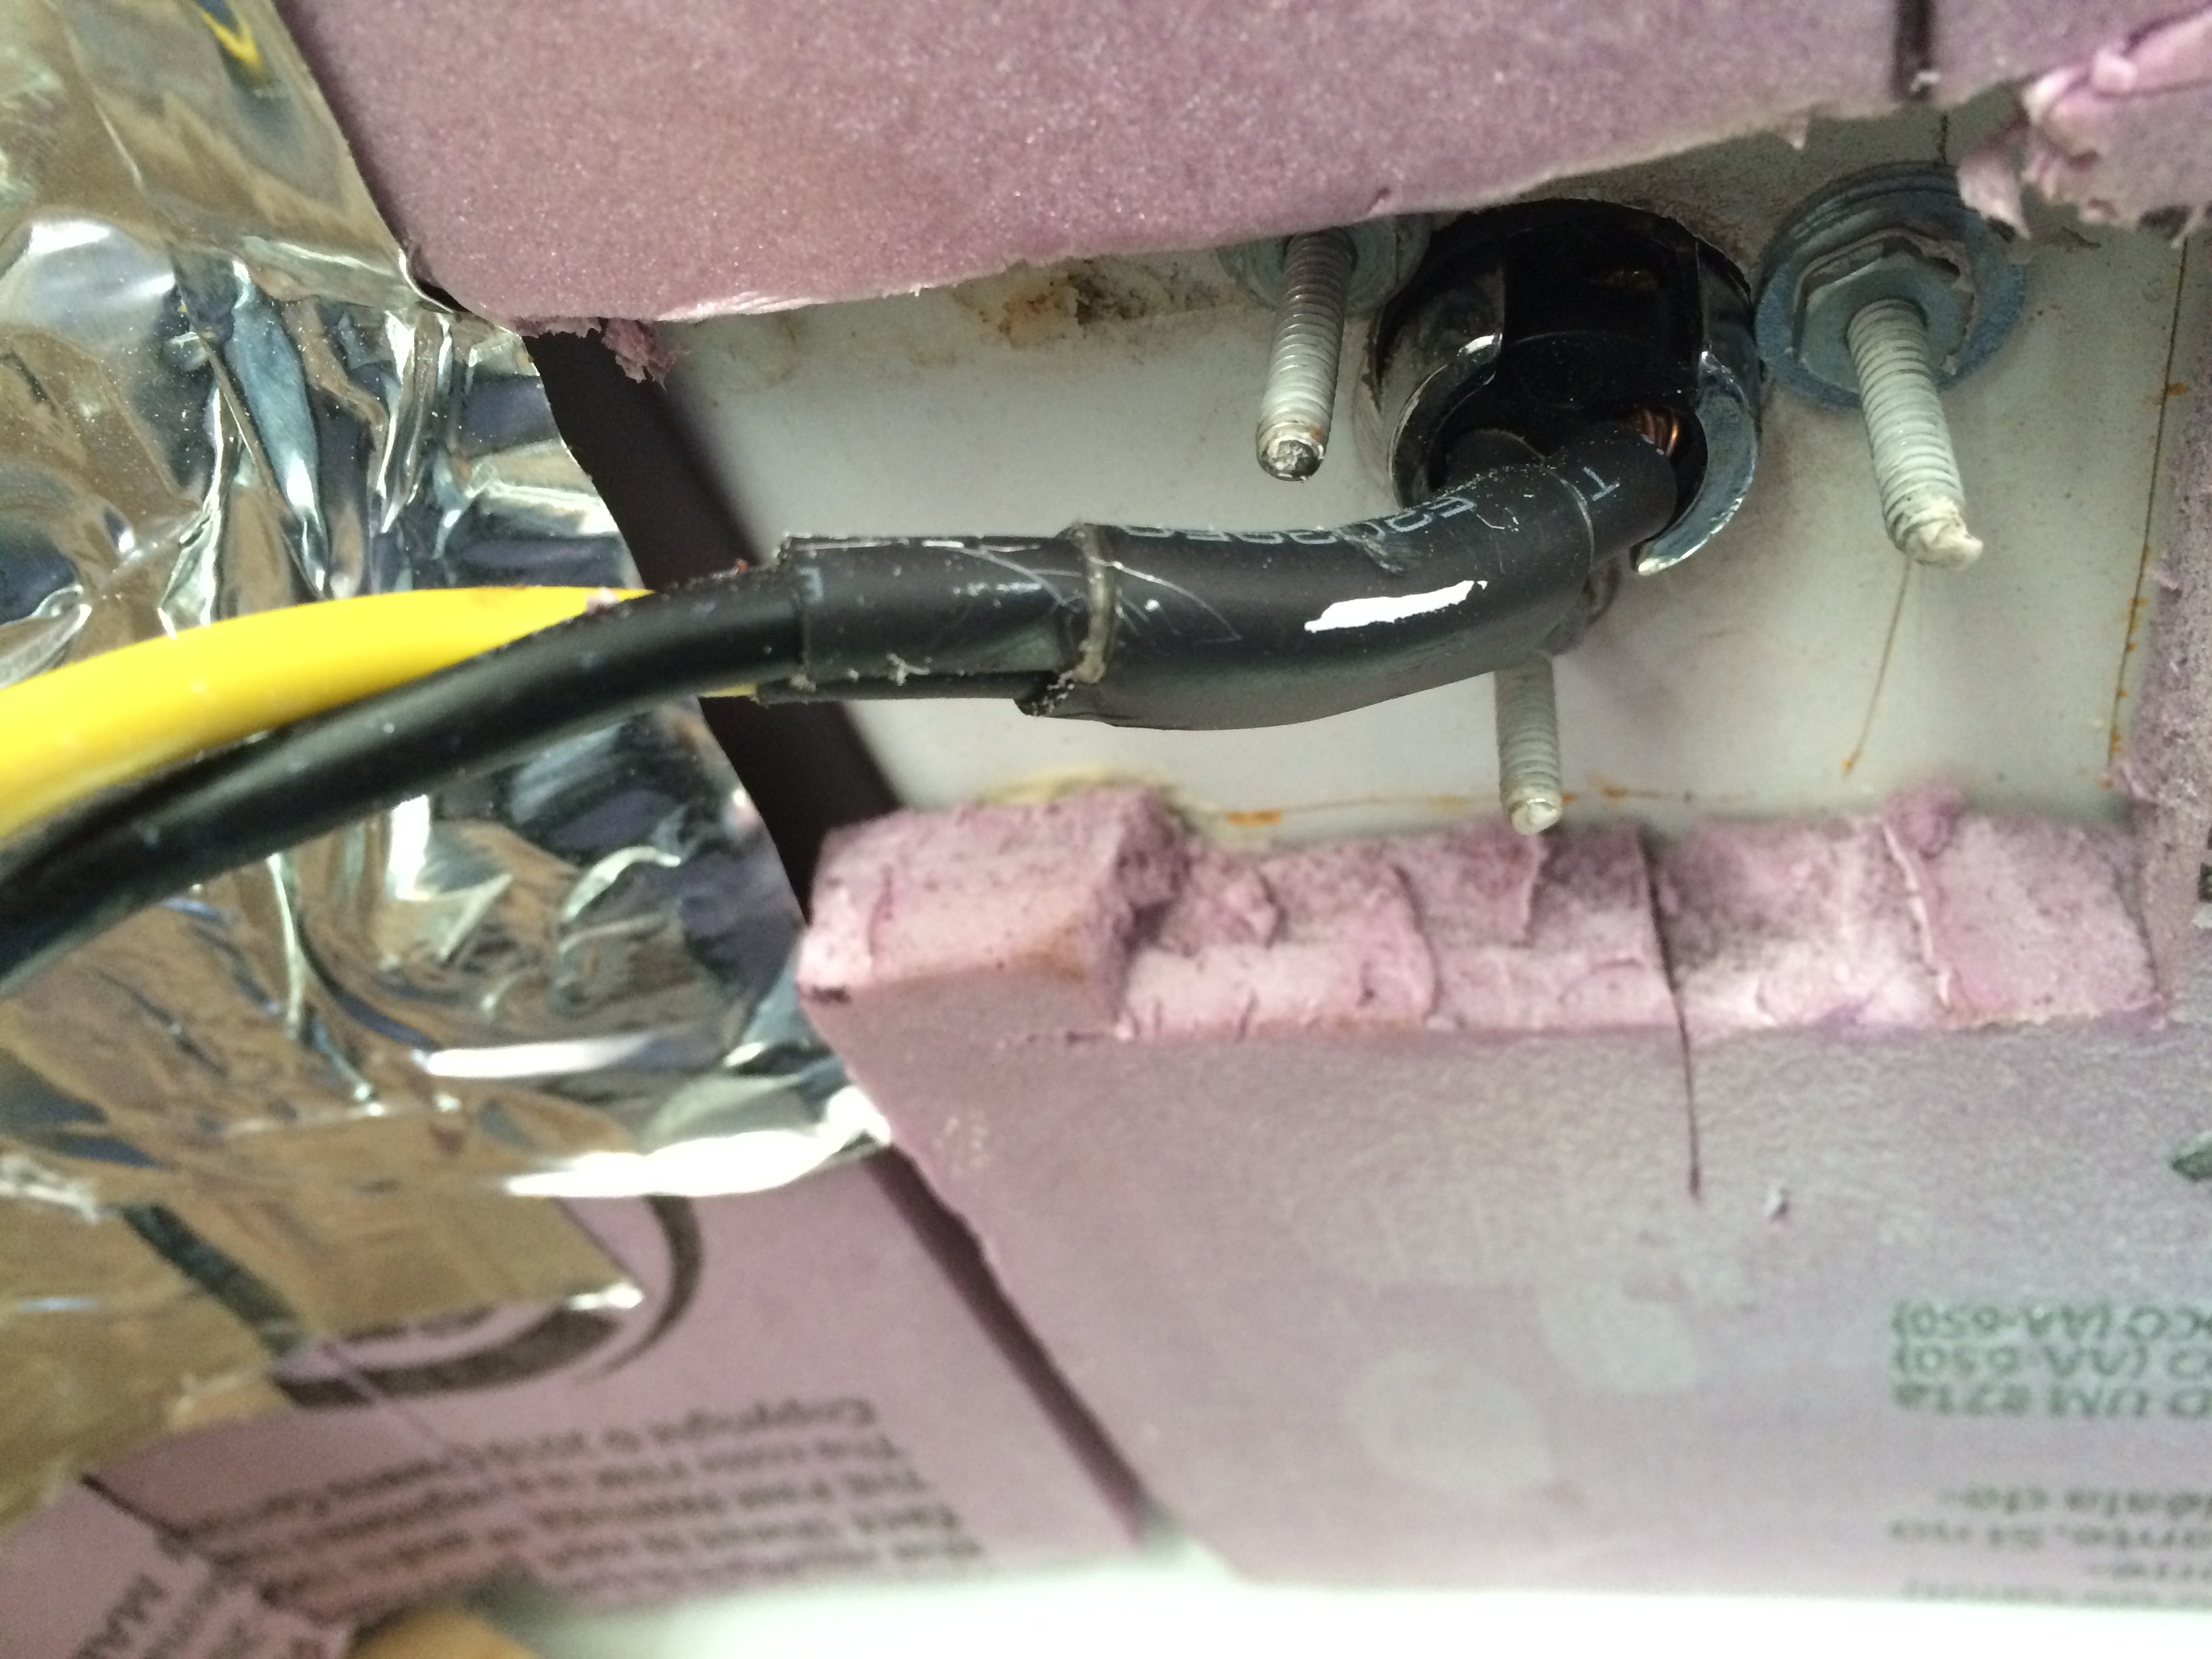
When I did my solar install last year I’ve settled on a marine style plug to make a waterproof connection from the solar panels to the inside of the van. I never really had problems with the connection itself (even though the plug showed some corrosion after 7 months) but I was never happy about having to reduce the wire size to make the connector work. Also the inside connection wasn’t that bullet proof – I was just waiting for an electrical short. The picture below shows the original connection from the inside – if you look closely you can actually see bare wires.
When I was recently picking up some plywood to build cabinets for the Sprinter, I was browsing through the electrical aisle in our local Home Improvement Store and found round plastic connection boxes [@Lowes] that are watertight. They looked as they would fit on the roof so I bought one, the matching cover and some waterproof UF cable connectors [@Lowes].
First step was to remove the old marine style plug that was held in place by three screws and some self leveling sealant.
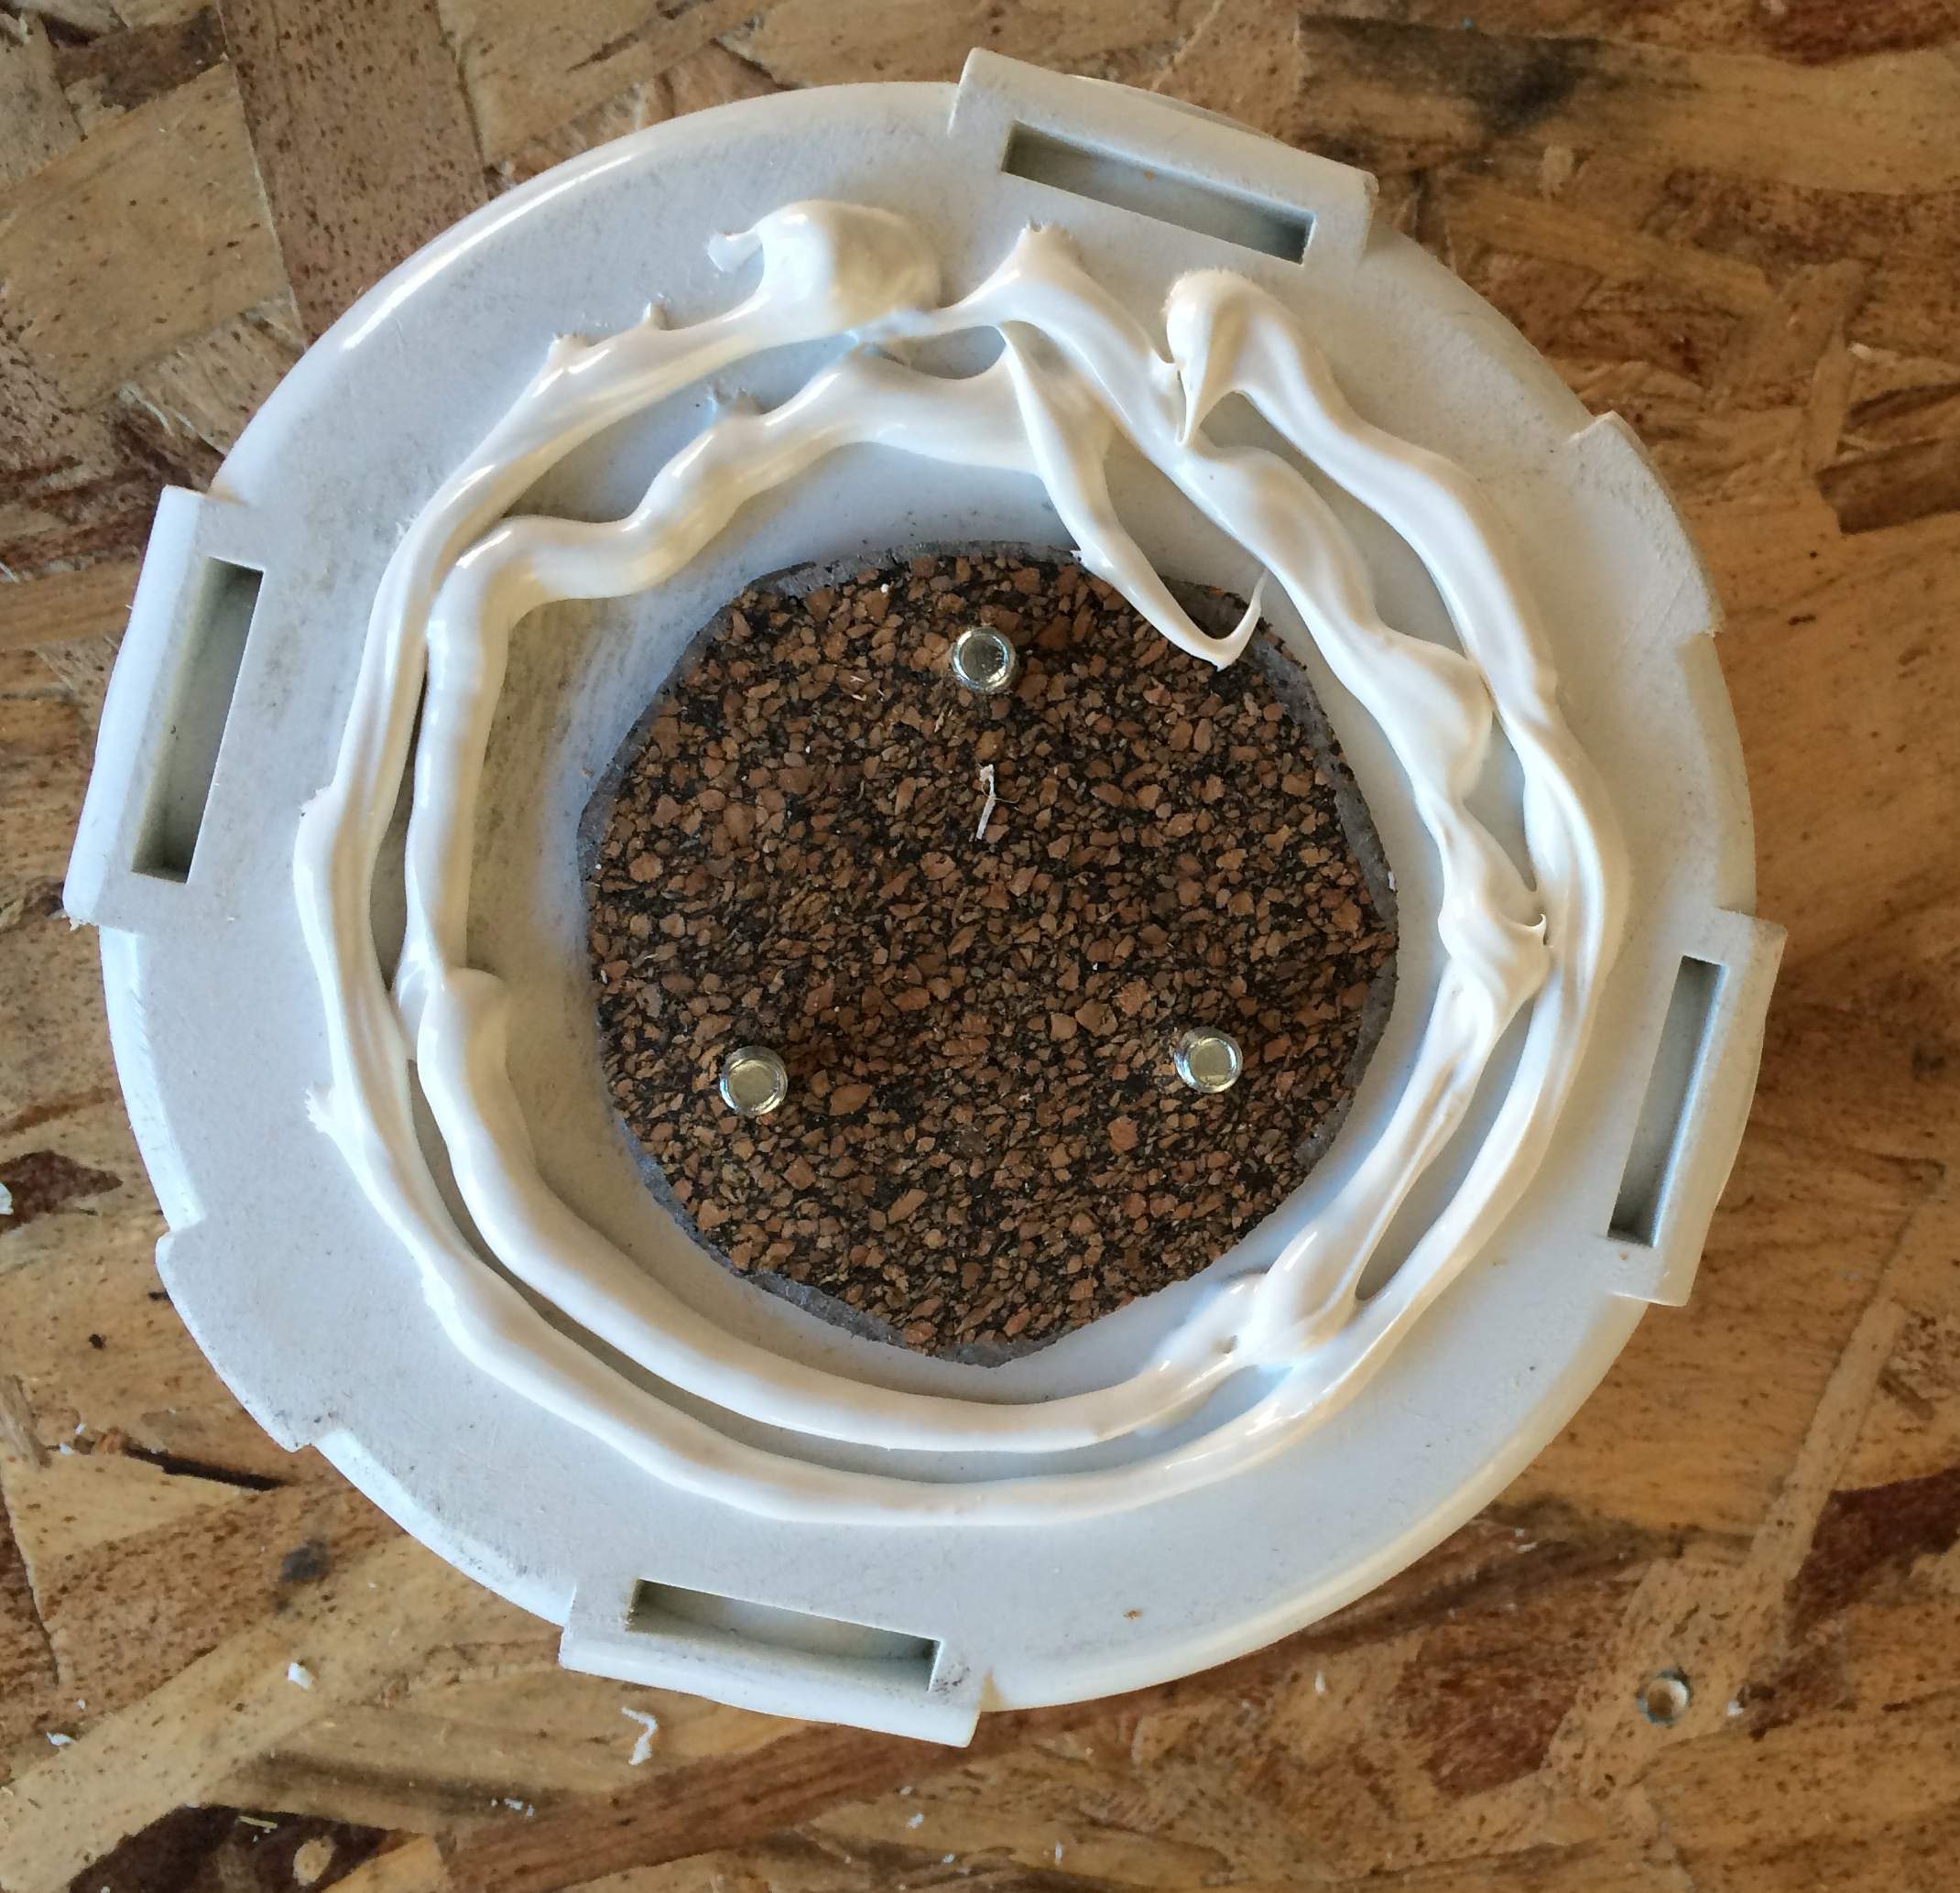
The new connection box needed some prep work before installing. First, I removed the two plastic tabs that you would normally use to screw the box in place. I wanted to use the existing three holes in the van to attach the box. Next, I’ve added some additional sealant on the bottom of the box (self leveling sealant and a cut to size cork gasket) to make the whole thing 100% waterproof.
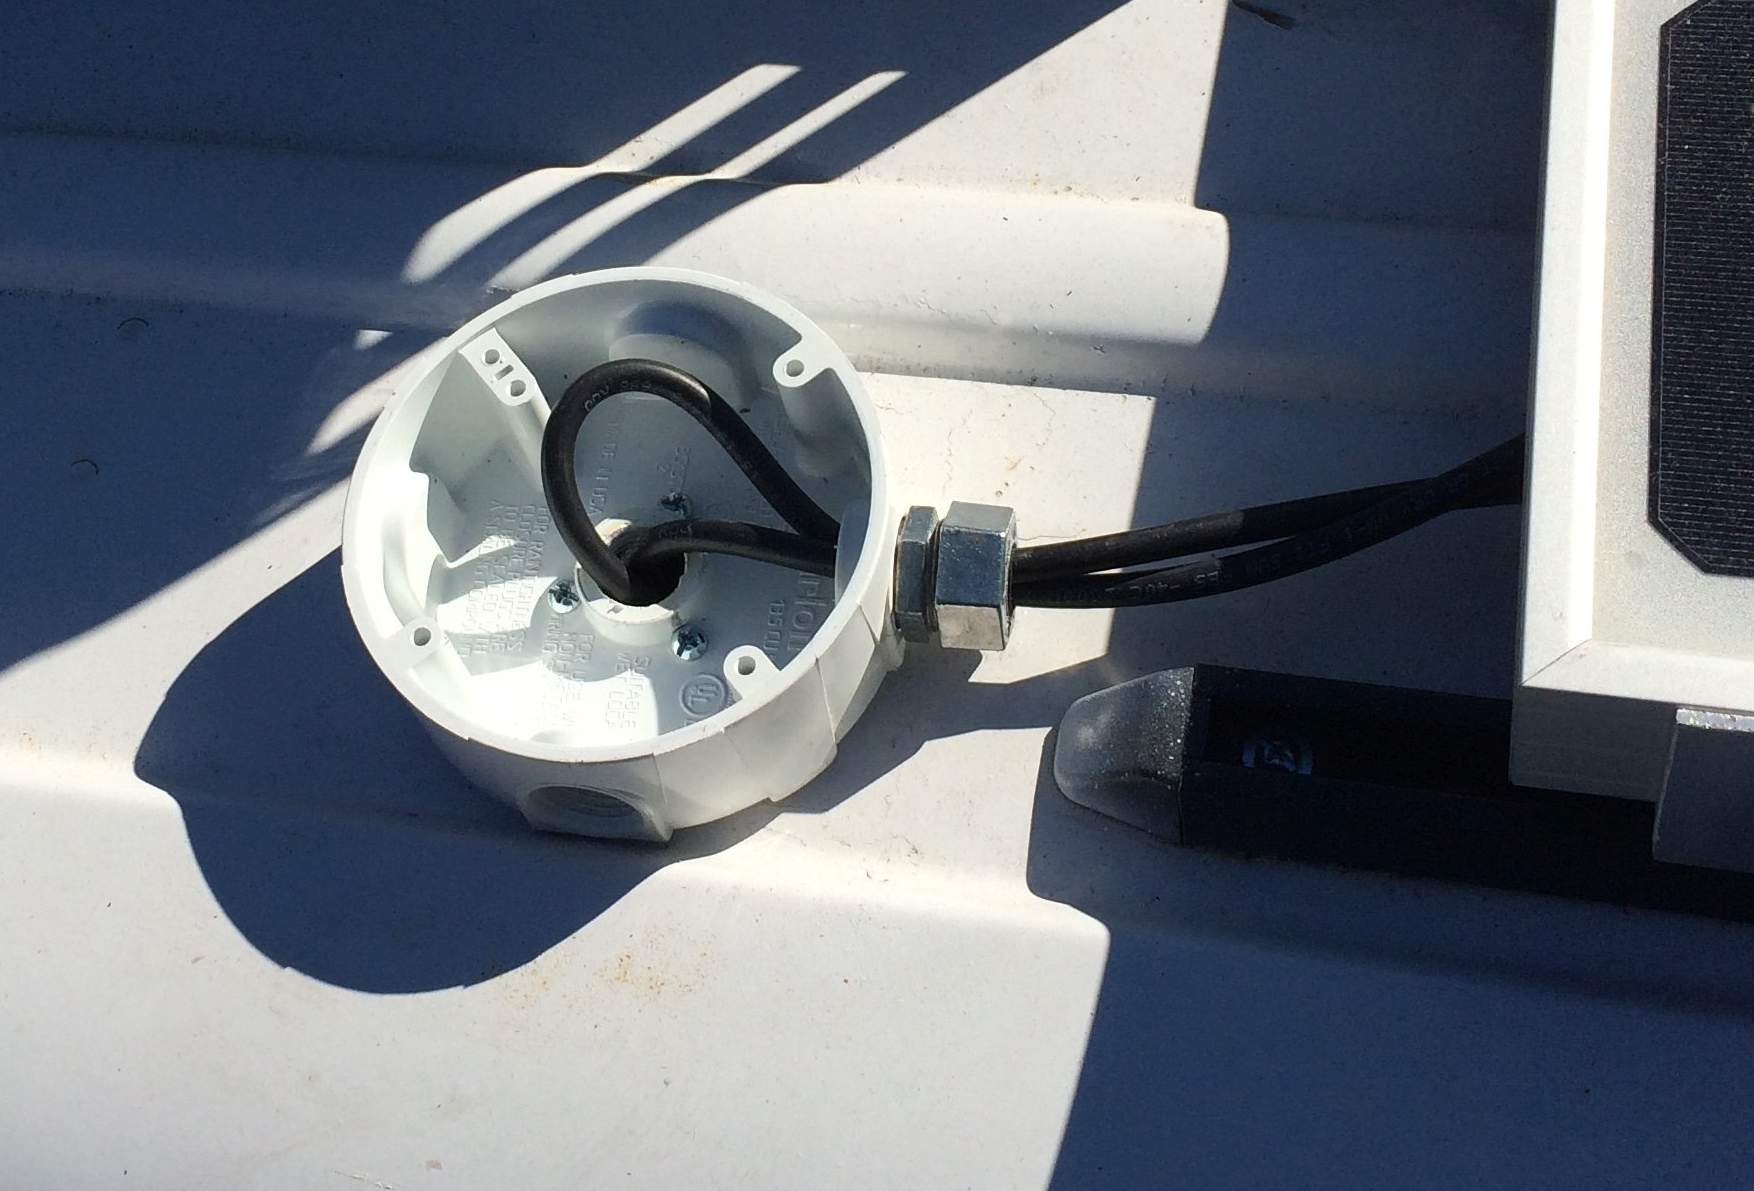
After I mounted the junction box to the van all that was left was to route the solar cables through the UF connectors (I had to widen the rubber insert a bit to get both wires through one connector).
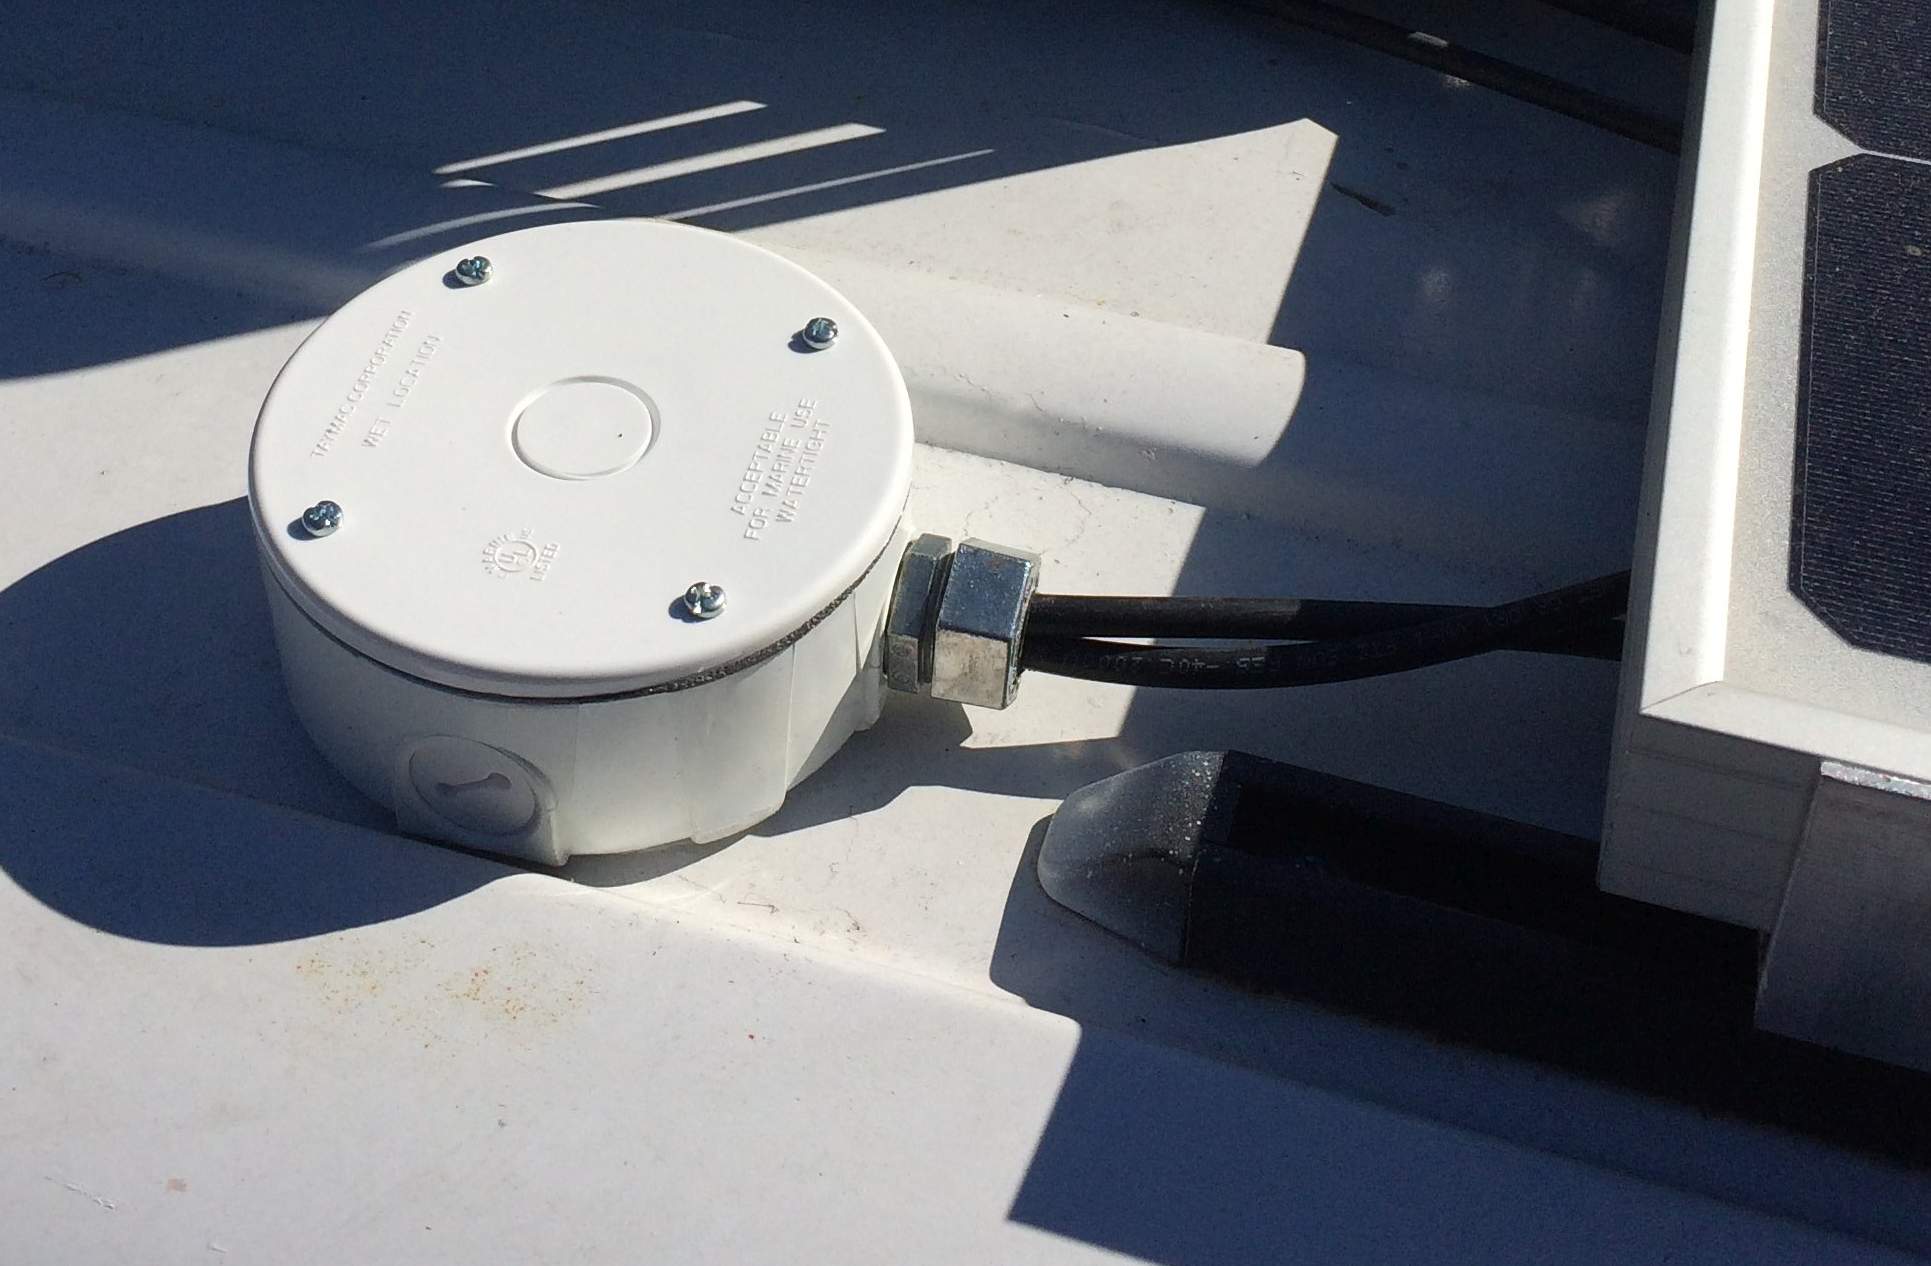
Did I say already how happy I was that I decided to put the original marine connector right in the middle between to ribs on the roof? The plastic box has exactly the size to fit between those ribs. The only thing left was to attach the cover and we have a watertight cable routing for less that $10!
The whole job took me not even 30 minutes. But I had already the holes drilled, so with measuring twice and drill once this shouldn’t take longer than 45 minutes to an hour.
Summary
-
Technical Difficulty - 2/102/10
-
Time needed - 1/101/10
-
Cost - 1/101/10
Great post… Just what I needed. Thanks for the good idea.
Again great job. I see how the wire is routed . Thanks