Changing the brake fluid in your Sprinter van on a regular helps maintaining the stopping power of your van. Brake fluid is hygroscopic, which means it absorbs water from the atmosphere over time. The water will then corrode the brake lines and calipers from the inside but it also lowers the boiling point of the brake fluid which has a negative effect on the braking force. The process of replacing the fluid in your brake system is commonly known as “bleeding brakes”.
Bleeding brakes is very easy on a Sprinter Van – everything is very accessible and you don’t even need to lift the van. But if you’re not handy with tools it’s best to have a professional change the brake fluid for you.
If you change the brake fluid by yourself, you’ll need first to remove the old fluid and then fill the system with the new brake fluid. I find it much more easy to use a pressure bleeder [@eBay] – there’s also another way to bleed your brakes but it requires a second person (I’ll describe this at the end of this post).
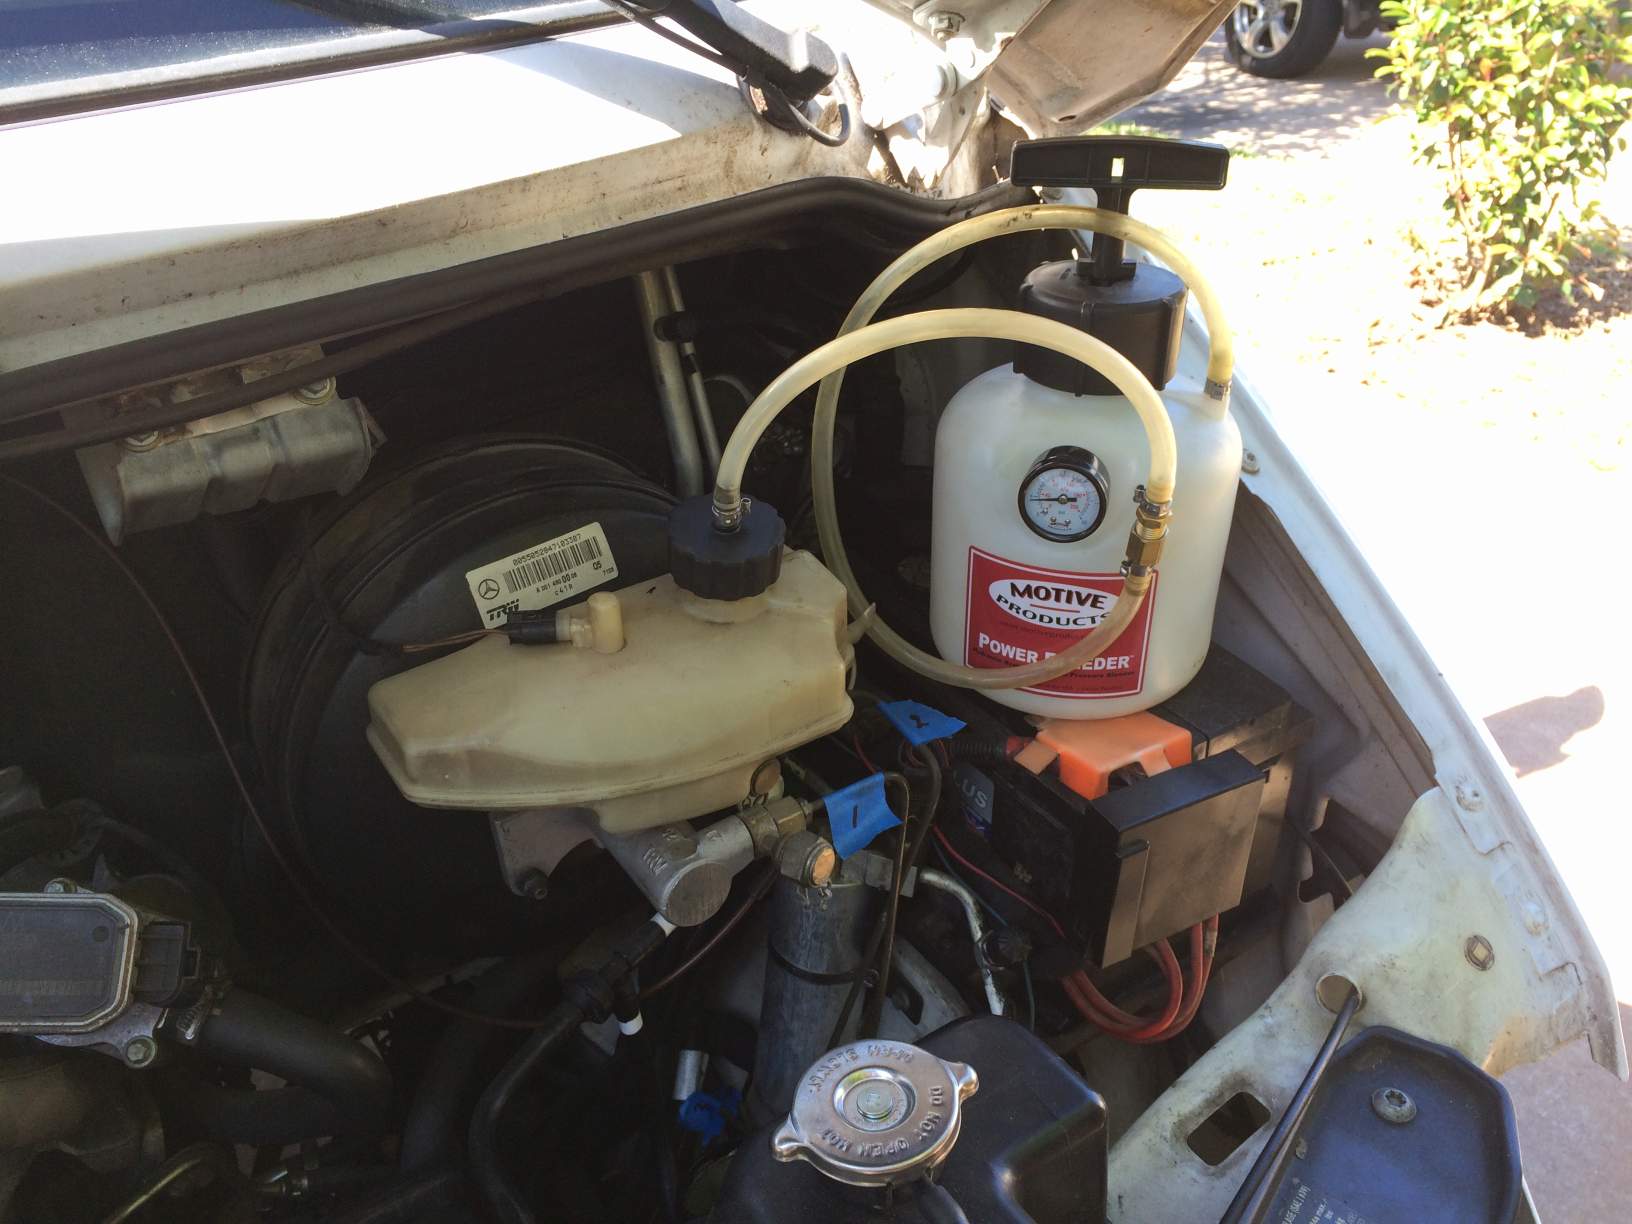
The pressure bleeder is basically the same thing that you probably know from spraying insect repellent in your garden. It’s simply a bottle that has a pump to generate pressure. Instead of a wand to spray it has an adapter that screws on your brake fluid reservoir.
Attach the power bleeder to the reservoir and pump to generate some pressure. Don’t apply too much pressure as this would in the best case destroy your reservoir. Worst case you create leaks in the brake system somewhere else. The Sprinter service manual says 15 to 20 psi is enough – I personally don’t go over 10 psi. It might take a few minutes longer but I can be sure that nothing bursts open.
Before you go to the next step – make sure the van can’t roll away! Put it in park position if you have an automatic transmission or first gear if you have a manual. Apply the parking brake and ideally use some blocks of wood in front and back of a wheel to stop the van from moving.
Now with pressure in the brake system you’ll need to bleed the brakes to get the old fluid out. On each brake caliper you’ll find a bleeding screw. It’s covered with a rubber plug to protect it from road dust plugging the bleeder screw. Start with the brake caliper that is the farthest away from the brake reservoir (In a Sprinter Van the passenger rear wheel). Remove this plug and attach a small hose to the bleeder screw (it helps to lubricate the screw a little to get the hose over it). The other end of the hose goes into a bottle with a vent. You can buy bleed bottles [@eBay] but really you just need a soda bottle with two holes in the cap. Through one hole in the cap goes the hose from the bleed screw down to the bottom of the bottle. The other hole goes another hose that acts as a vent – this one doesn’t go to the bottom of the bottle – you don’t want the fluid come out of this one again. Just the air that’s in the bottle.
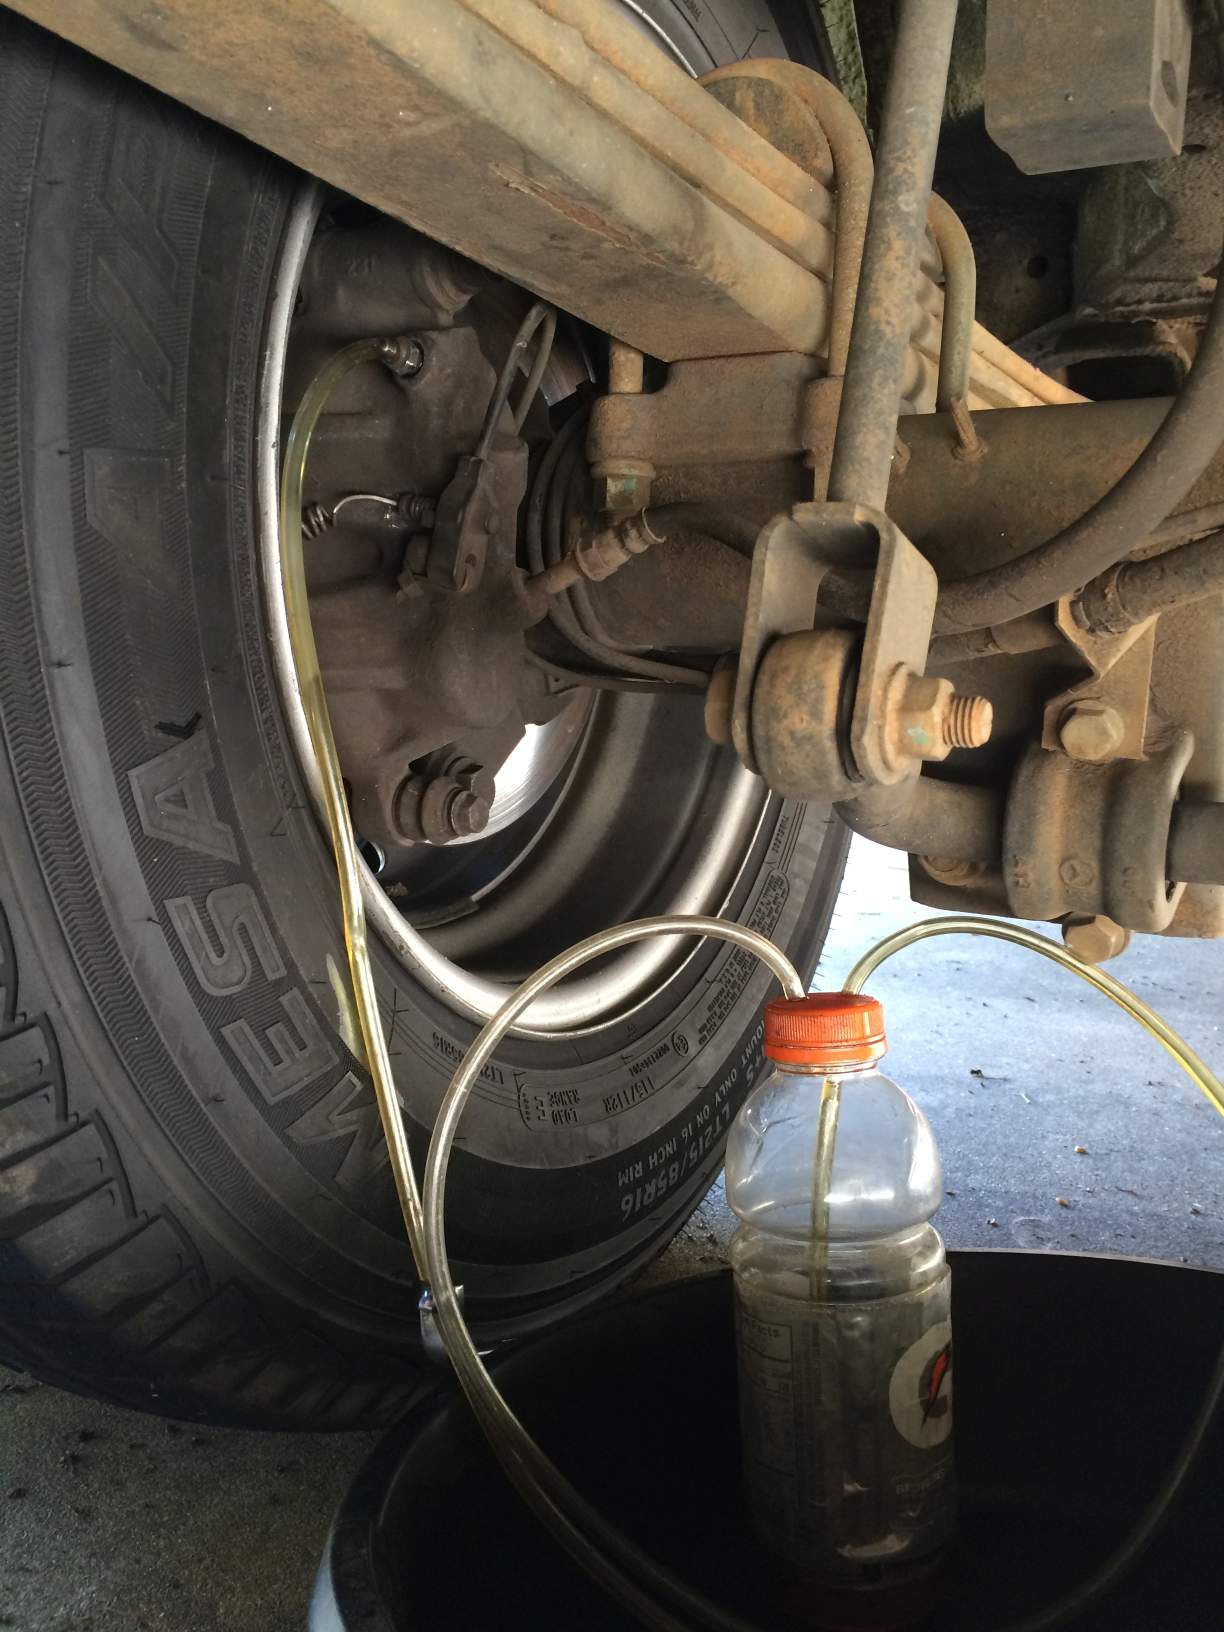
Now with the hose attached open the bleeding screw – it’s a normal thread, so lefty loosy opens it. Just turn it once or so – you’ll see the fluid coming out through the hose. You don’t want the fluid coming out through the threads. Once you’ll see no more fluid coming out of this caliper, just air, close the screw and move on to the next caliper – going from farthest to closest caliper to the brake reservoir (driver rear, passenger front, driver front).
Now that the brake system is empty you can fill it with fresh fluid. Remove the power bleeder and fill the reservoir up to the brim with brake fluid. Attach the pressure bottle and apply pressure to the system.
Again start with the caliper with the most distance to the reservoir, attach the bleeder hose and open the bleed screw. This time you wait until fluid comes out of the hose and only fluid. If you still see bubbles of air in the hose continue bleeding the caliper. Any air left in the system will have a negative impact on the braking force. When done with one caliper close the bleeding screw carefully – you don’t want to over tighten it and shear the thread. Continue with the remaining three calipers.
Also make sure that the reservoir is always topped up – If it runs empty you’re pumping air back into the system and you’ll have to start again to get all the air bubbles out.
Once you’re done with all four calipers make sure the brake fluid in the reservoir is between the MIN and MAX marks and close the reservoir with the original cap. Be careful when driving the van for the first time after bleeding the brakes. Press the brake pedal a few times before starting to drive and make sure there’s no traffic around you when you test your brakes.
And finally the manual bleeding procedure that requires a helper as described in the service manual – if you really don’t want to buy a pressure bleeder:
- Remove reservoir filler cap and fill reservoir.
- If calipers, or wheel cylinders were overhauled, open all caliper and wheel cylinder bleed screws. Then close each bleed screw as fluid starts to drip from it. Top off master cylinder reservoir once more before proceeding.
- Attach one end of bleed hose to bleed screw and insert opposite end in glass container partially filled with brake fluid . Be sure end of bleed hose is immersed in fluid.
- Open up bleeder, then have a helper press down the brake pedal. Once the pedal is down close the bleeder. Repeat bleeding until fluid stream is clear and free of bubbles. Then move to the next wheel.
Tools needed:
- wrench (I think it’s a 11mm) for the bleeding screw
- Power bleeder – not necessarily but highly recommended. You can get them for about $50 from Amazon or eBay.
- bleed bottle & hose
Parts needed:
- 1 liter brake fluid. Mercedes spec 331.0 with a dry boiling point of 500F/260C and wet boiling point of 356F/180C. I used Pentosin Super Dot 4+ [@eBay].
Affiliate disclosure: This site contains affiliate links to products. We may receive a commission for purchases made through these links.
-
Technical Difficulty - 2/102/10
-
Time needed - 2/102/10
-
Cost - 2/102/10
Hi I have a sprinter 311 2005 , I have bled my brakes 5 times and my peddle goes to the floor but only when the engine is running, good peddle when engine is off? I haven renewed the master cilender and vacuum pump, it’s still no better, would now what the problem is?
Thanks Julian.
On the scan tool from the factory there’s a setting that vibrates the ABS system why you’re doing this job it might be necessary
I have a ’96 312d and have the problem of the pedal going to the floor. It does not have abs. I have replaced a faulty caliper, master cylinder and load bias valve. There are no leaks and the servo is working fine with vaccum pressure..
Checking Pentosin web page, they DO NOT have a DOT 4+ fluid, they do have a Super DOT 4
Boiling Point > 265°C (>509°F)
Wet Boiling Point > 165°C (>329°F)